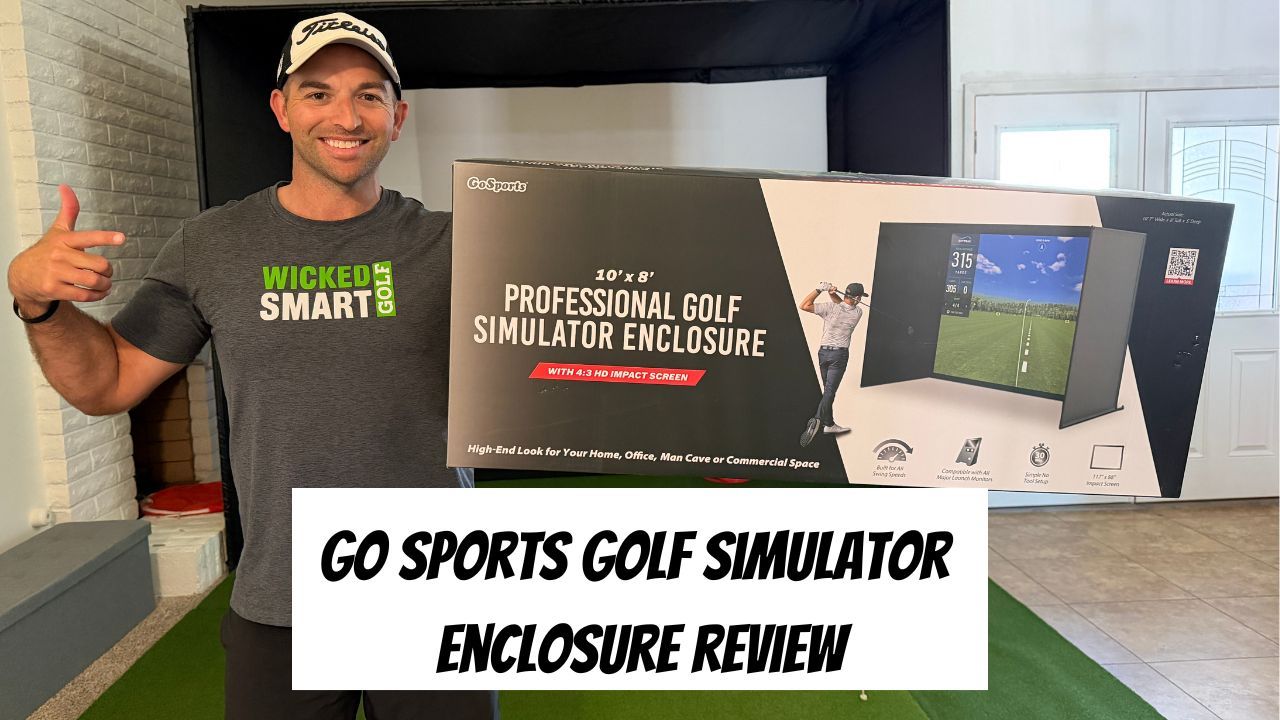
Go Sports Golf Simulator Enclosure Review: Honest Thoughts
When I moved from an apartment to a house, I had one requirement - enough room for a golf simulator.
We found the house, but I was shocked at how expensive it was for a screen and how many options there were. However, I knew a net wouldn’t cut it and wanted a screen not only for golf but also for my YouTube channel.
After looking at endless options, I wanted one ASAP, and most websites had 7-10 days shipping. So, I figured I’d check out Amazon and was pleasantly surprised to find several options with Prime shipping. Today, I’ll discuss my GoSports Golf Simulator Enclosure review to help you learn if it’s right for you.
Go Sports Golf Simulator Enclosure Review
Over the last few years, golf simulators have completely changed the way you can practice and improve from home. Instead of being limited by weather, daylight, or driving to the range, you can now work on your game year-round from home.
Simulators also make practice more intentional than a standard driving range session. Instead of mindlessly beating balls, you can:
- Track carry distances
- Practice speed training
- Work on ball striking
- Play simulated rounds
- Dial-in wedges
- Practice under pressure
That’s where a quality enclosure and impact screen become so important. A good setup creates a safer, more immersive practice environment while making simulator golf actually enjoyable to use consistently.
For me, one of the biggest advantages of a simulator setup is consistency. It’s much easier to stay sharp in the offseason or squeeze in practice sessions during busy weeks when you can simply walk into your garage, office, or spare room and start hitting balls.
Overview
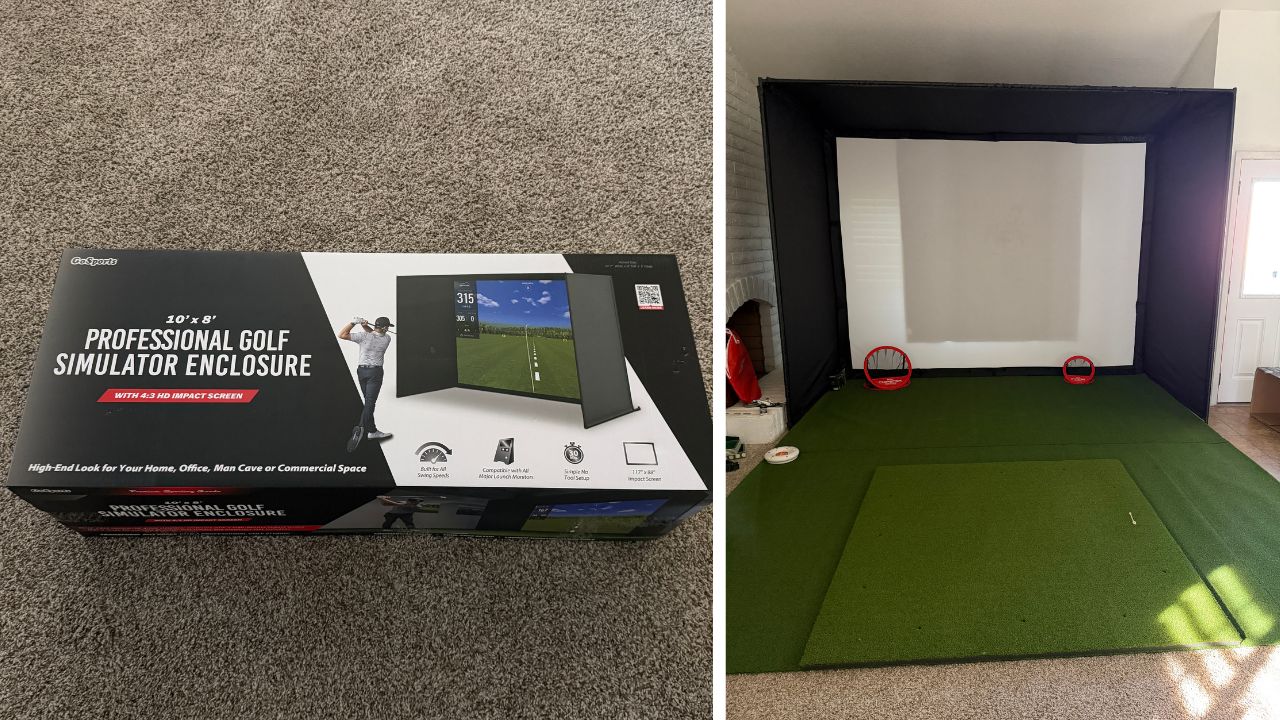
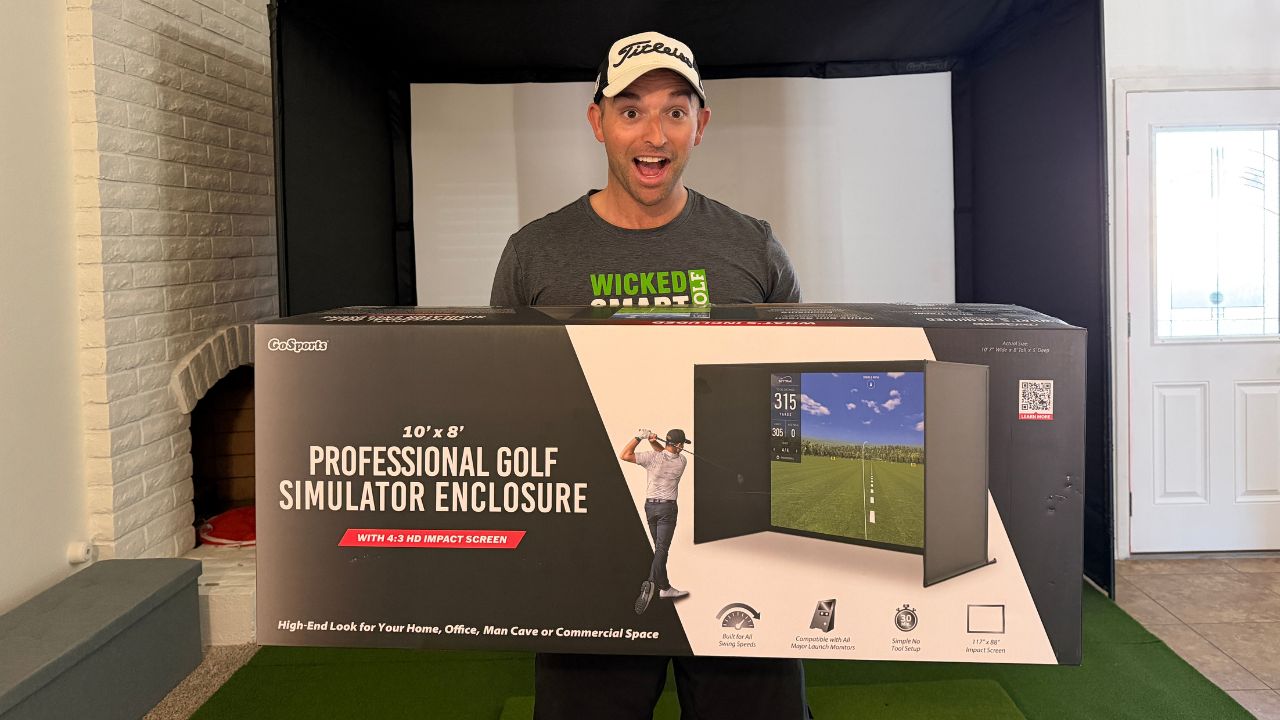
The GoSports Golf Simulator Enclosure is designed to help golfers create a cleaner, safer, and more immersive home simulator setup without spending a fortune on a custom build. If you’re building a garage simulator, spare room setup, or dedicated golf space, having a quality enclosure and impact screen makes a massive difference in both practice and overall experience.
One thing I like about this setup is that it comes with almost everything needed to get started. Depending on the package, the enclosure kit includes:
- The enclosure frame
- Impact screen
- Side and top protective netting
- Pipes/frame components
- Foam padding for protection
- Connectors and mounting pieces
The enclosure helps create a much more realistic simulator feel while also protecting your walls, ceilings, and garage from mishits. That’s especially important for golfers working on speed training or hitting driver indoors.
I also like that the impact screen gives golfers the ability to pair the setup with:
- Launch monitors (my favorites are the SC200, SC300i, and SC4 Pro from Voice Caddie)
- Simulator software
- Projectors
- Practice apps
- Indoor training sessions
Another big advantage is versatility. You can use the setup for:
- Full swing practice
- Speed training
- Gapping sessions
- Playing simulator rounds
- Winter practice
- Competitive games with friends
For golfers trying to improve consistently year-round, having a dedicated setup at home removes a lot of excuses and makes it dramatically easier to practice more often.
Different Sizes
One thing I like about the GoSports setup is that they offer multiple enclosure sizes depending on your available space, budget, and simulator goals. The smaller options work well if you are building compact garage or spare-room setups (like mine). While the larger enclosures create a much more immersive simulator experience for projector setups and full simulator golf.
The three main sizes are:
- 10 ft x 8 ft
- 12 ft x 9 ft
- 14 ft x 8 ft
For golfers tight on space, the smaller enclosure can still work great for practice and launch monitor sessions. But if you have the ceiling height and room available, I think the larger 12 x 9 setup creates a much better overall simulator experience—especially for hitting driver, using projector software, and making the setup feel more like an actual indoor golf studio.
The larger screen also gives you more confidence swinging freely indoors, which is especially important during speed training sessions or full simulator rounds.
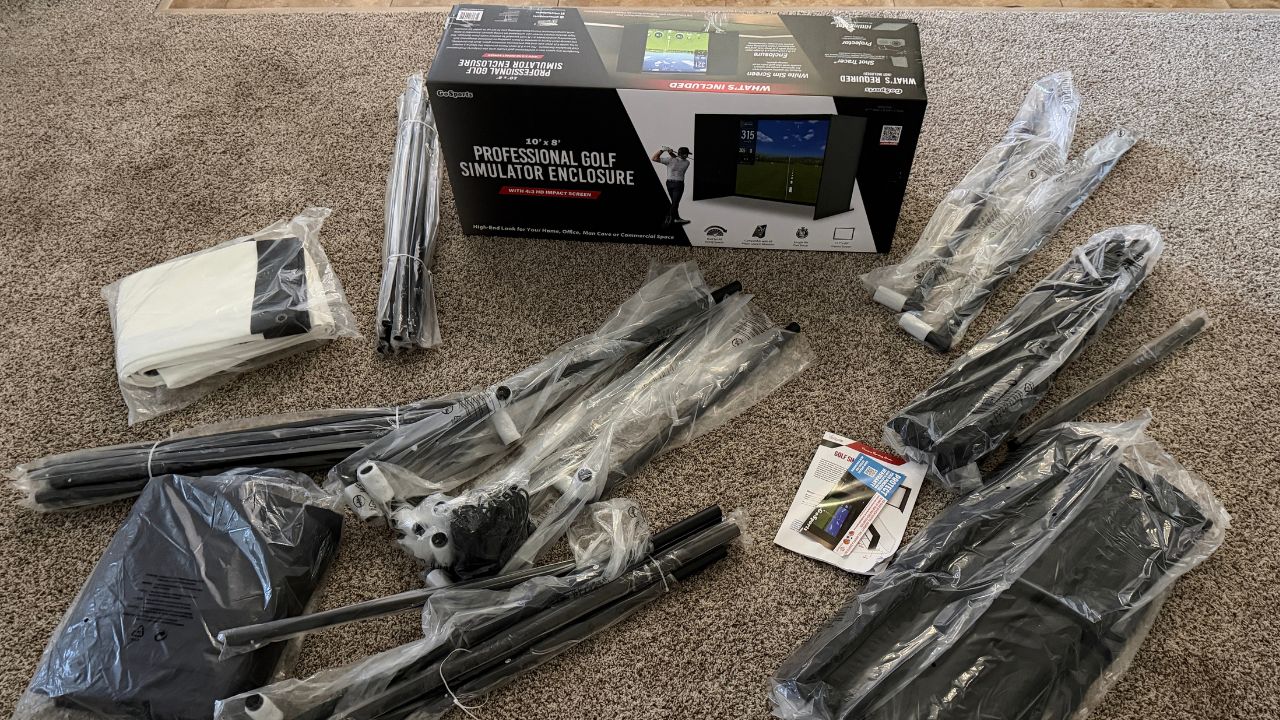
Assembly & Installation
One thing I was honestly worried about before buying this GoSports Golf Simulator Enclosure was the assembly process. I’m not particularly handy, so I was expecting it to be much more complicated and frustrating than it actually was.
Overall, the setup was surprisingly straightforward. It took me about an hour to get most of it assembled, and the frame itself was easier than expected. The only part that became a little challenging was attaching and stretching the impact screen, where I eventually recruited some help to make the process smoother.
That said, once everything was together, it felt sturdy immediately. I’ve now had the setup for about six months and it’s still holding up great despite regular practice sessions, simulator rounds, and speed training.
For golfers intimidated by building a simulator setup at home, I think this enclosure strikes a really nice balance between durability and ease of assembly. 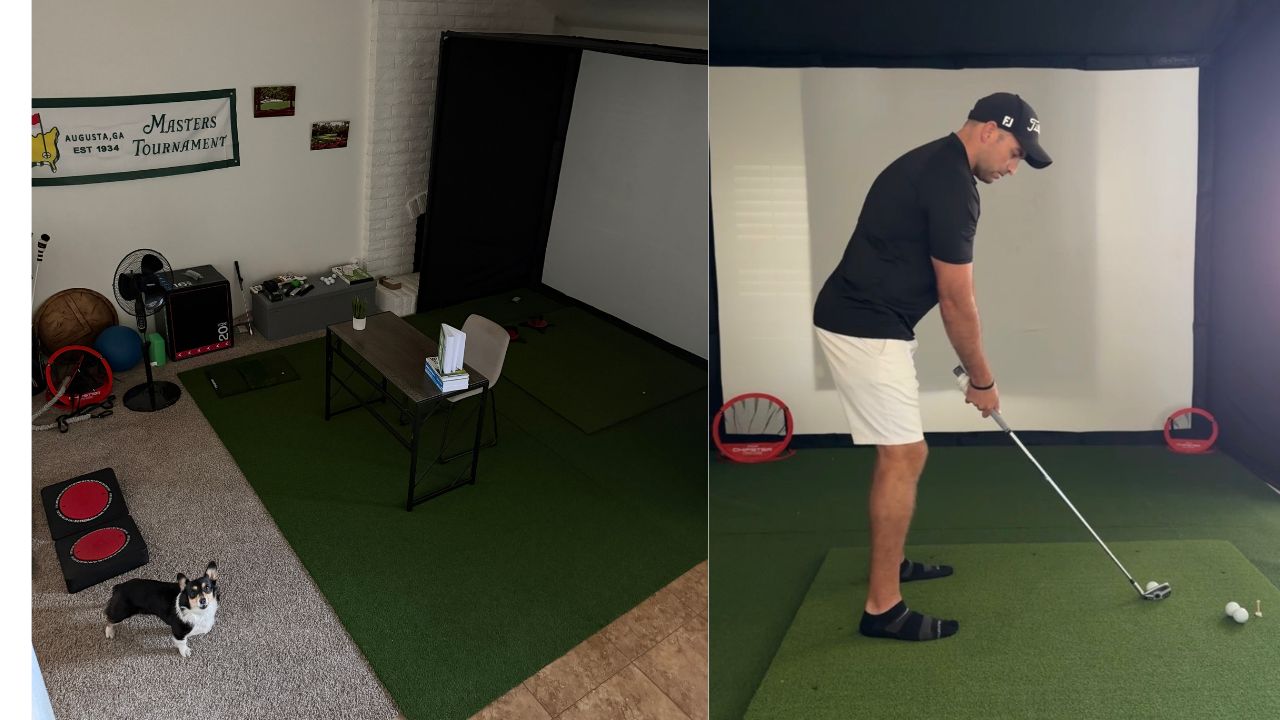
Pros
- Affordable compared to many custom simulator enclosures
- Clean look and surprisingly professional appearance once fully set up
- Multiple size options depending on your room and simulator goals
- Impact screen quality produces great graphics with a projector setup
- Easier to install than expected
- Dimensions work really well for garages, spare rooms, and even larger living room setups
- Square and rectangular options are available depending on your space and simulator software requirements
- Ability to mount a projector directly to the frame for a cleaner overall setup
- Feels sturdy and durable once assembled
One thing I’d recommend is double-checking the dimensions and aspect ratio compatibility with the simulator software or launch monitor you plan to use before buying.
Cons
- There can be some bounce back depending on ball speed and screen tension
- I ended up adding a moving blanket behind the screen, which helped absorb impact significantly
- Loosening a few of the attachments slightly also helped reduce bounce back
- The screen installation process can be tricky by yourself
- You may need a second person during setup, especially when attaching and tensioning the impact screen
Accessories
The GoSports Golf Simulator Enclosure is great on its own, but I also added a few accessories to complete the setup and make the simulator feel more realistic overall.
Go Sports Hitting Mat
I’ve been impressed with the GoSports hitting mat, especially for the price. For roughly $100 on Amazon, it’s a really solid option for golfers building an affordable simulator setup without sacrificing too much quality.
The design feels stable, works well for launch monitor sessions, and gives enough surface area to comfortably hit full shots indoors. I also like that it’s easy to move around if you need to adjust your setup in the garage or practice space.
Go Spots Golf Simulator Turf
I also added the GoSports simulator turf to make the setup look cleaner and feel more like an actual indoor golf studio. They offer multiple turf lengths, including:
- 10 feet
- 12 feet
- 15 feet
The longer turf options work especially well if you want extra room between the hitting mat and screen or plan to create a more immersive simulator environment with putting space and a projector setup. It’s definitely not mandatory, but it adds a really nice finishing touch to the overall build.
Shop the simulator turf on Amazon now (worth the investment).
My Experience
Overall, I’ve been really impressed with the GoSports Golf Simulator Enclosure. Honestly, I wish I used it even more, but my dog isn’t exactly the biggest fan of golf balls flying around the living room.
What I like most is how versatile it is. I can work on everything from wedges to driver, speed training sessions with HiiTs driver, simulator rounds, and even YouTube content for my channel. It’s become a really solid all-around practice setup that makes it much easier to stay consistent year-round.
I also think the enclosure looks much better than I expected for the price. The sizing worked perfectly for my setup, and overall it feels like one of the better values I’ve found for golfers wanting a home simulator without spending a fortune.
Closing Thoughts
For golfers building a home simulator setup, I think the GoSports Enclosure and impact screen are great options to create a clean, affordable practice environment without needing a full commercial build.
What I like most is that the setup works well for so many different types of golfers:
- Beginners wanting more reps
- Competitive players working on speed and distance control
- Busy golfers trying to practice more consistently
- Golfers building a full garage simulator setup
The biggest advantage of any simulator setup is convenience. The easier you make practice, the more likely you are to stay consistent and consistency is what ultimately leads to lower scores and more improvement over time.
Want more practice tips? Check out these popular articles: